7 steps to better posture to create a healthy workplace
Towards the end of “It’s a Wonderful Life!” Jimmy Stewart’s George Bailey inferred a painstaking situation with the excitement of a college graduate. However, nothing stimulates as the taxing hours at work. If the back hurts? We tend to let out a screen rant from the epiglottis. Same tactic comes in handy while tackling jittery legs as well. What is the solution to release stress I used to wonder since forever? Call it a magical spell or random thoughts in the crooked mind, the following 7 postures occurred to me outa nowhere. For lovers of mystery, they are the archetypes to replicate Bedford Falls at Office. More or less.
7 sitting posture to replicate Bedford Falls at Office
Posture #1. At Par with the Eye-Line of the Computer
There. Our focal point on the monitor to which we stare all the time. Limitations are endless since dimensions lie within the top-half and the bottom-half of the screen. Once you figure that out, all you need to do is adjust the recliner for better legibility. This is an ideal posture for techies especially or the slouches who prefer working all day along on a computer.
Posture #2. At an arm-stretch from the work desk
Keeping a bare-minimum distance between your body and the desk is easily doable if you have an armrest on the chair. And, working involves lots of stretching and leaning forward one time too many. Which means, this is ideal for those with crutches on either side. Others? Try out, Posture #3.
Posture #3. The Un-Jog Posture.
The toes and the brain have certain inklings as perceived in Biology. Whereas, at Office, the toes on the ground and uncrossed legs awaken brain receptors. An expertise in Biology would brag about blood circulation in the brain and such. For the Un-Jog posture, though, the immobility is the selling factor.
Posture #4. Laid-back posture with the help of lumbar support
A lumbar support is anything but a pillow-equivalent that slants into your chair and facilitates the natural curving. Pick a good lumbar support for no one needs a curving that proves to be counterproductive. Meaning, this is ideal for slouches whose lumbar is as strong as an elephant.
Posture #5. Upright Posture: Hips loosened, head steady, legs apart.
The edge of the seat is what’s being called a sweet-spot. For easy explanation, it is the verge or the far end of the seating. Arms on either side. Loosened hips. And, the legs apart would lead to a steady head. There is something called “Peripheral vision.” For that, one must sit in a way he/she is paying attention.
Posture #6. Boredom-Posture.
Boredom posture isn’t as easy as the title has it. The routine standing posture to shackle boredom requires workstation cubicle with a solid plateau. It works evenly no matter you use a computer at work. Or, anything likewise.
Posture #7. Anything that won’t leave you posted.
Cannot overrule the importance of deep breaths at work. Depending on the quality of the furniture, one might as well stop contemplating wily ideas to breathe. For the furniture, should compensate lumbar support and lurch forward with the same utmost ease of performing it. I mentioned this mostly because once you figure out a sweet-spot it is advisable to stay there forever as possible.
Statutory Warning: Tweaking the seat height to figure out a “couch-heaven” would eventually lead you into a strangle.
The Importance of Stranglehold and Wrestling
In wrestling, wrestlers pull off strangleholds when the bout boils down to its denouement. Why do they do that? To win the bout by way of preemptive measures of course. Apparently, Merriam-Webster has it - “It is a position of complete control that prevents something from developing.”
Okay. What sport teaches you is to master the uncontrollable stuff with a strong base, self-confidence, maneuvering of arms and legs in ways that leads to winning. Hope you have figured a way or two to come up with your own stranglehold. Thank You. Welcome Comments. Please don’t strangle me with gasp-induced questions, for I have a wonderful life ahead after this blog too.
Author- bio: Levin George is a Search Engine Optimizer at OfficeRock.com. He actively pursues interests related to latest internet marketing trends. He spends his leisure time reading, meditating and enjoying the joys of technology.
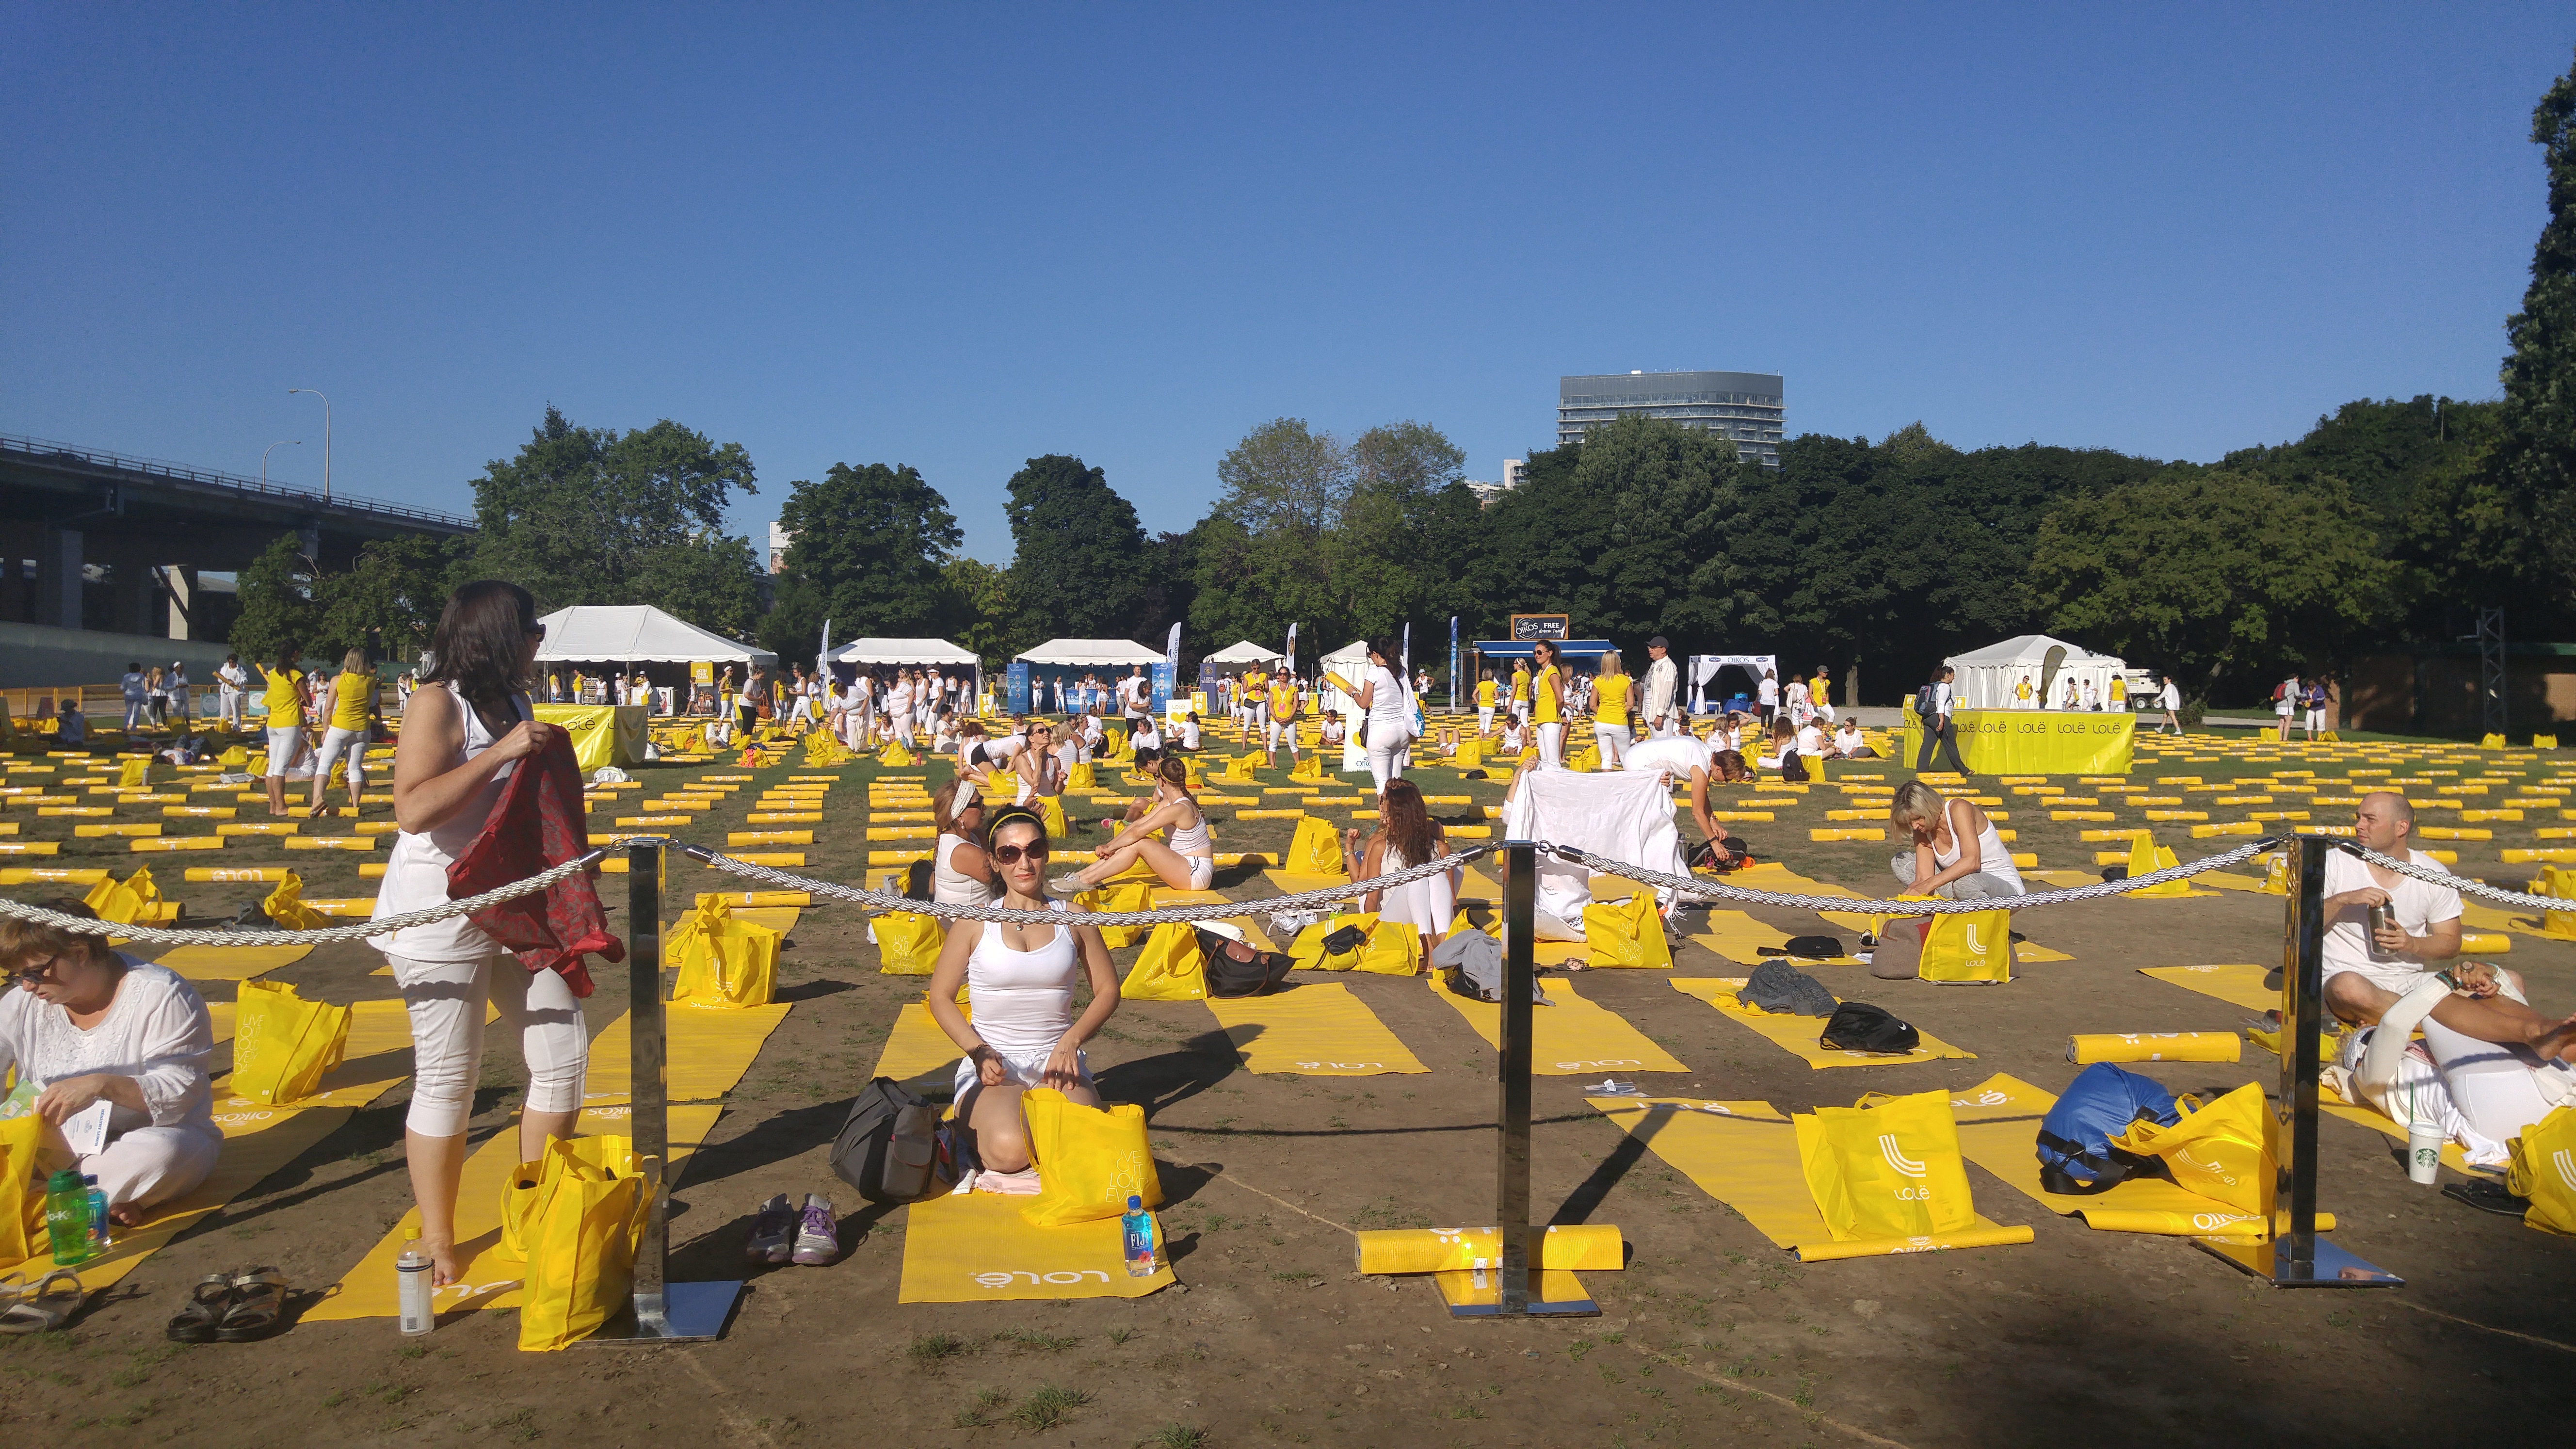
Lole - All White Tour Toronto
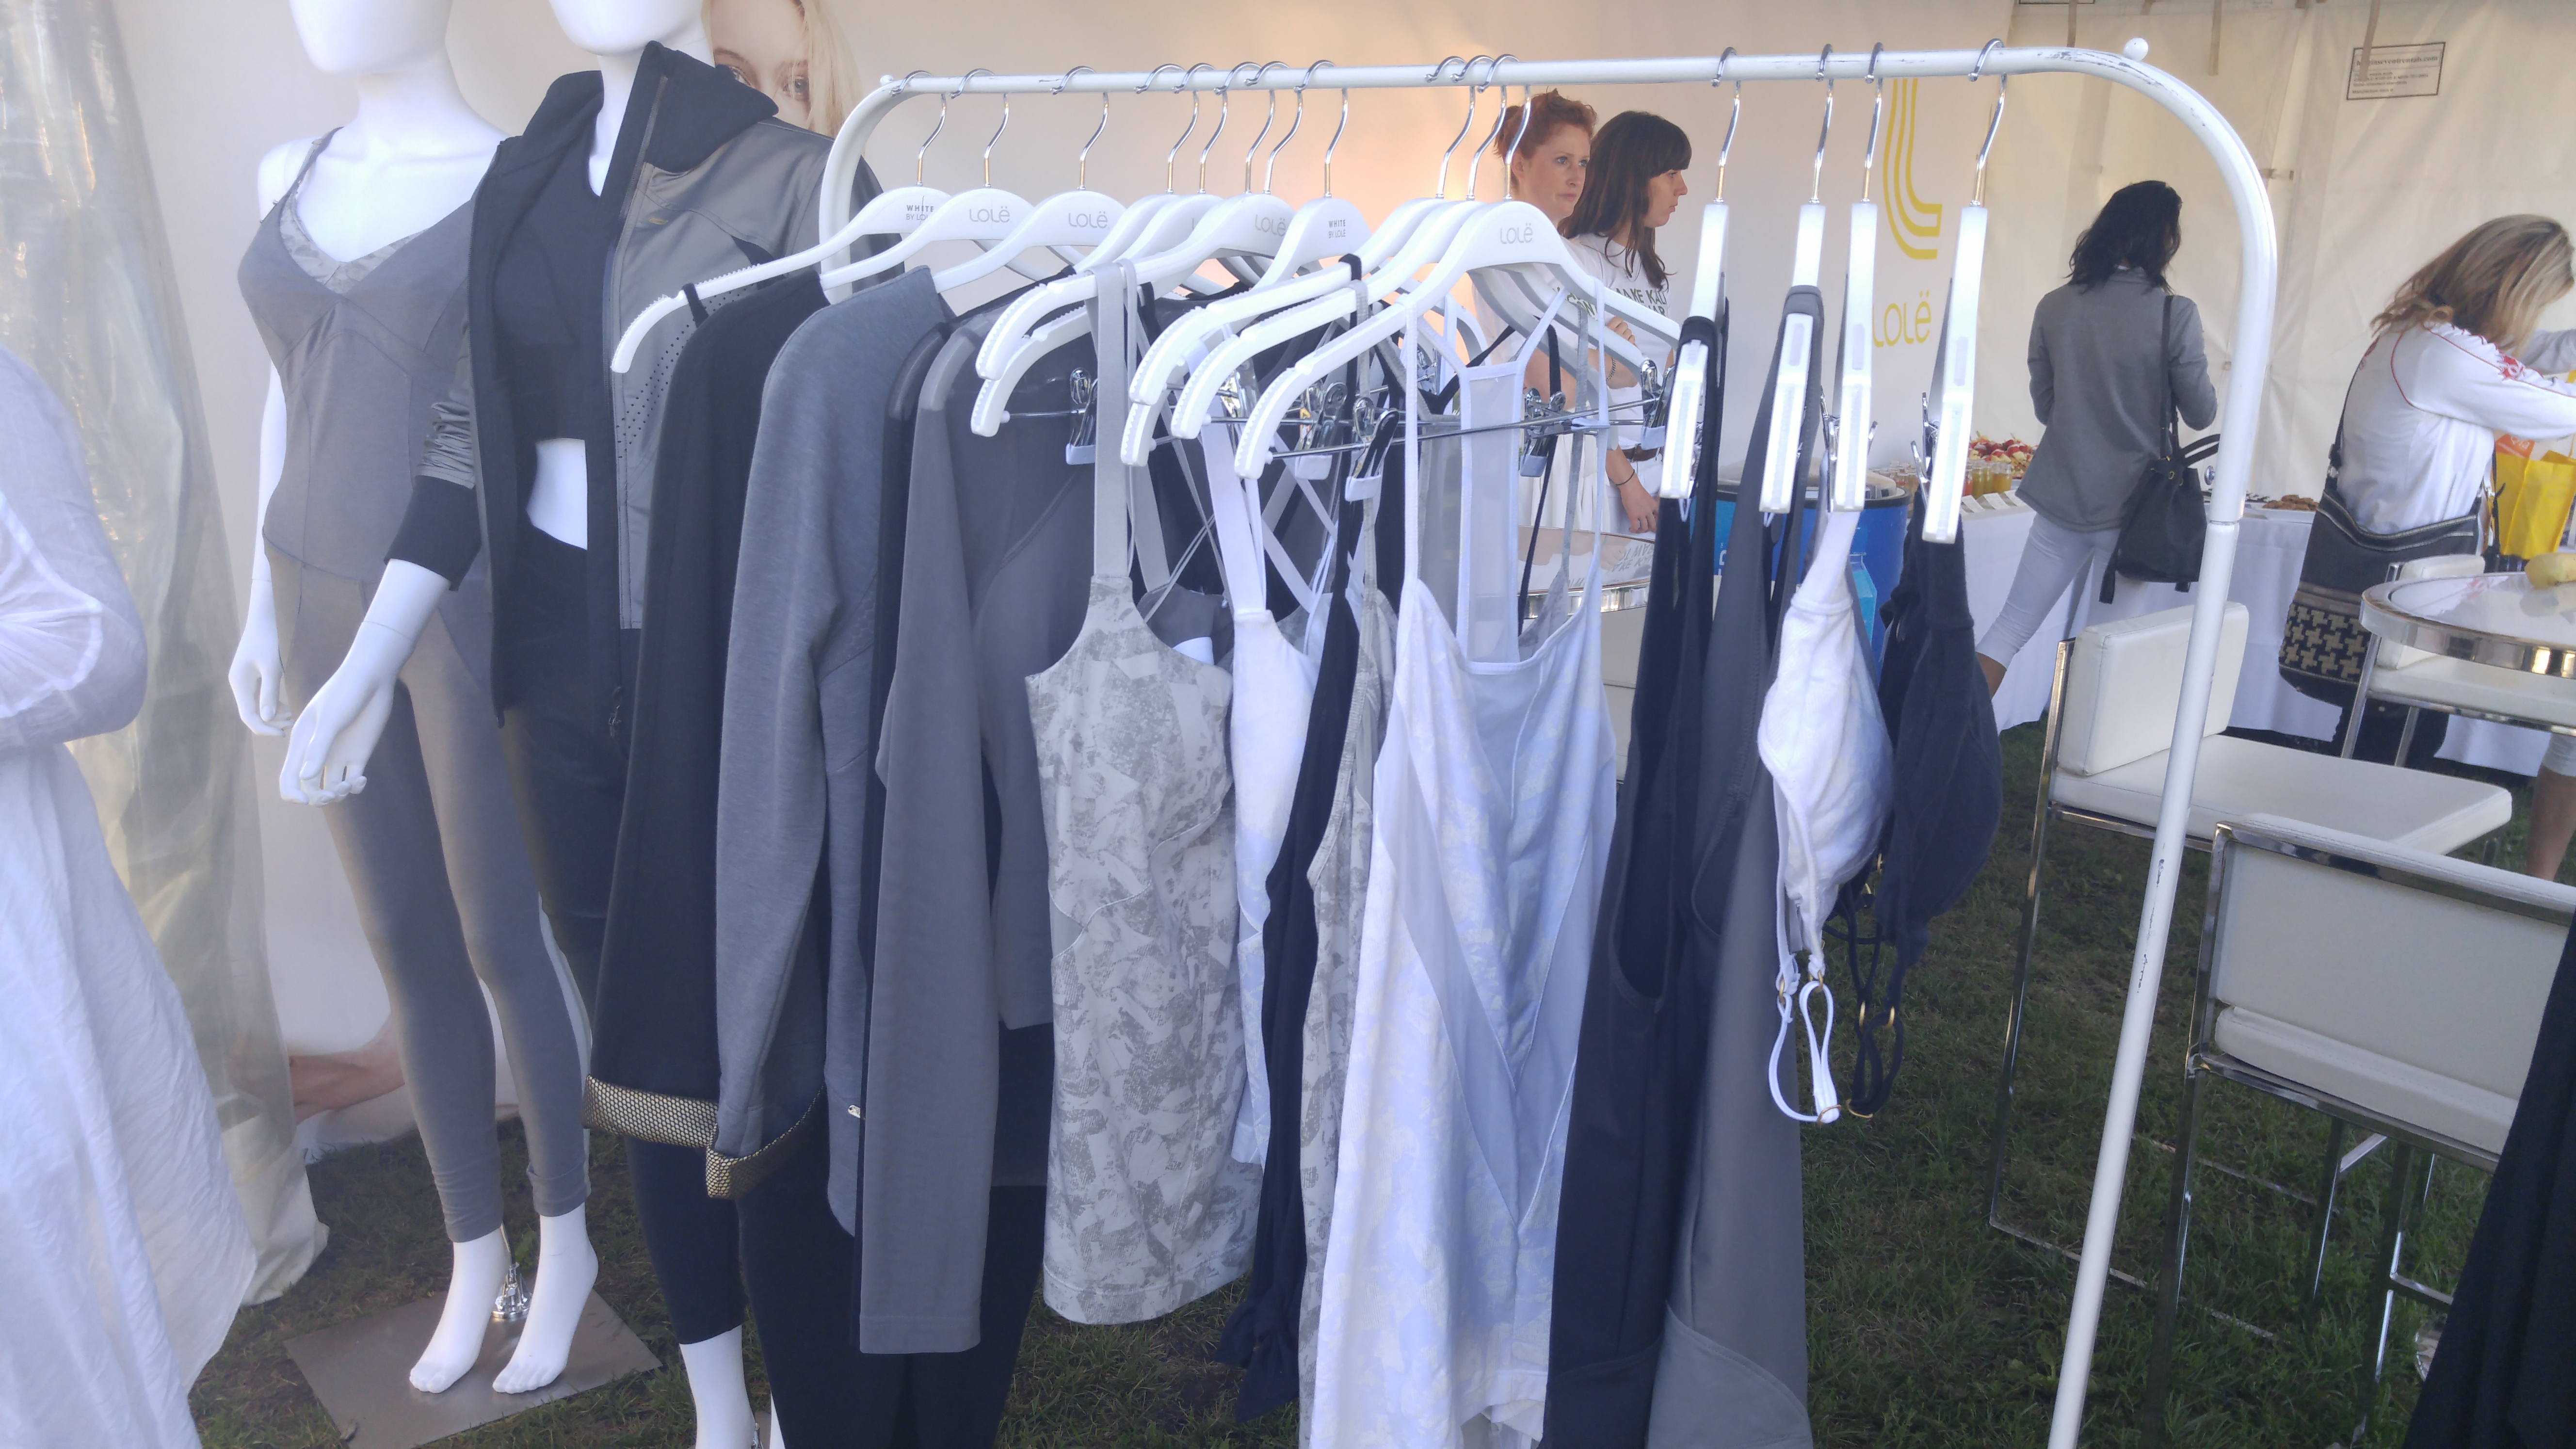
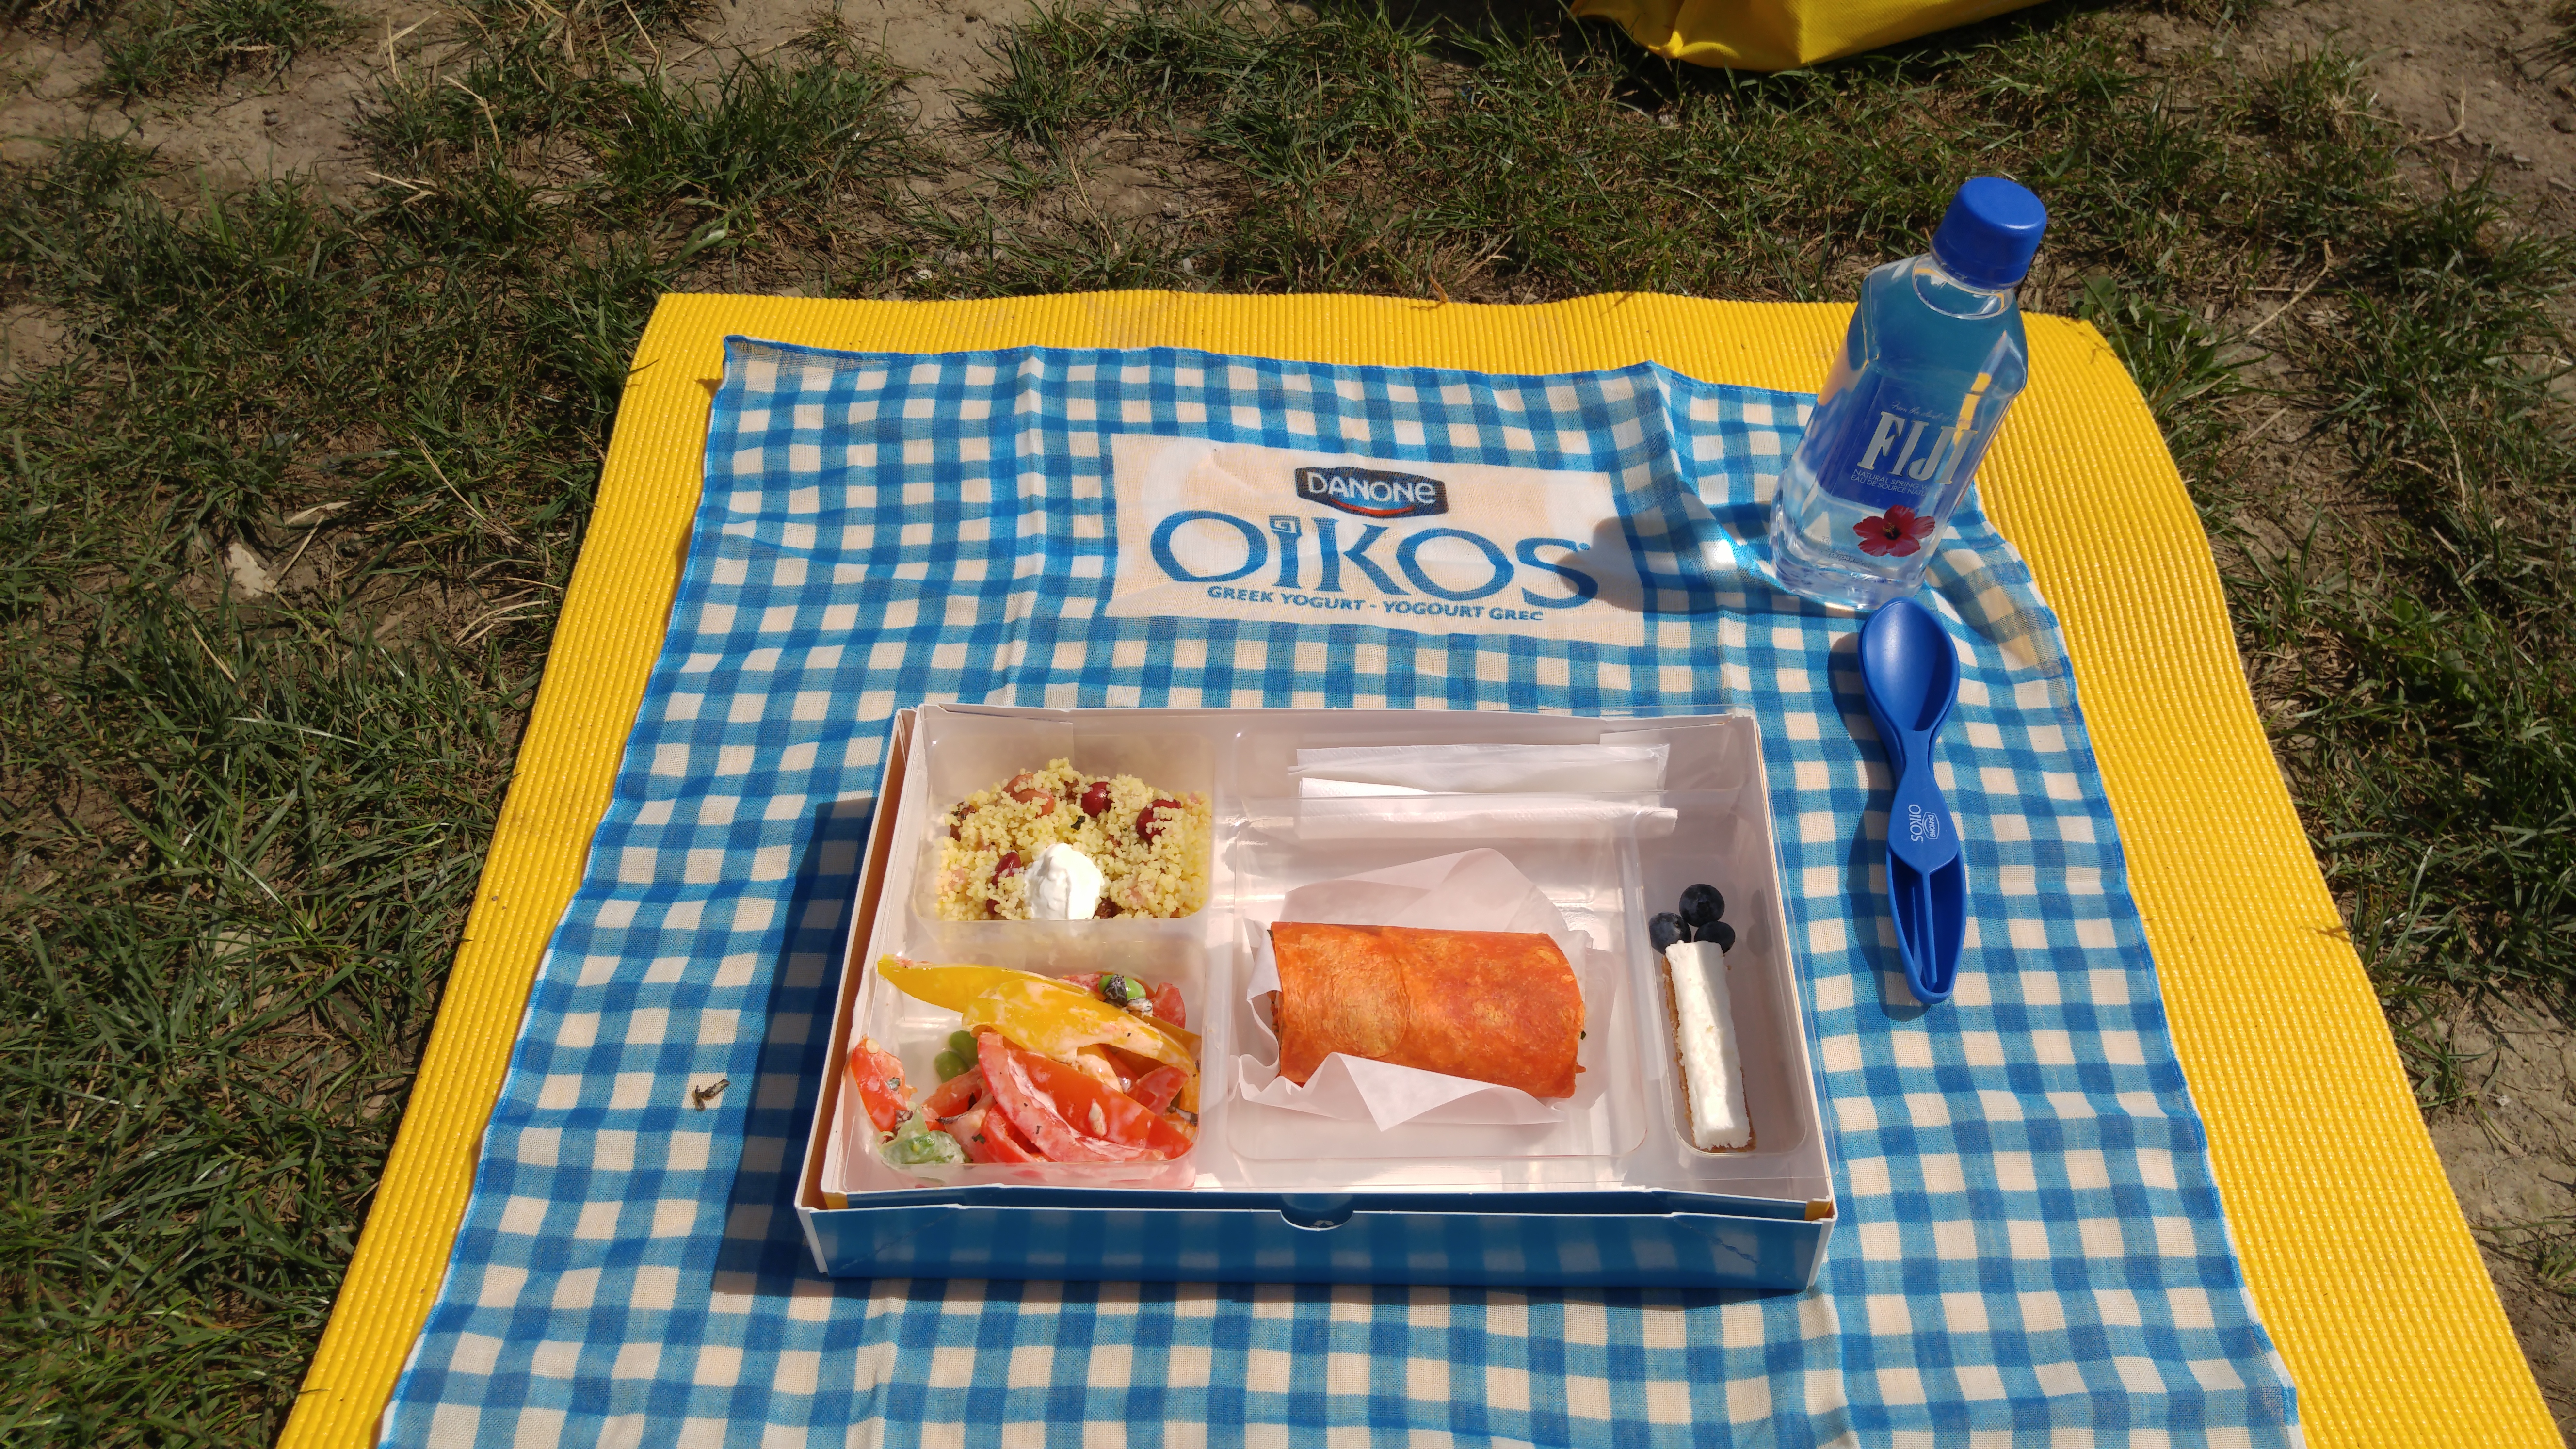
Last week I had the opportunity to attend the Lole all white tour. I have to say this was a very well run event. I am not a yogi but I definitely enjoyed all of the flow. The two instructors who lead it were amazing. Thank you for inviting me Lole. Not only did I get an invite but Lole dressed me for the event in their line. The event was all white and Ive never actually wore a pair of all white pants. I was a bit hesitant but the pants fit great, felt great and best of all were not see through! Lucky for the 2000 people behind me in attendance wouldn't you say?
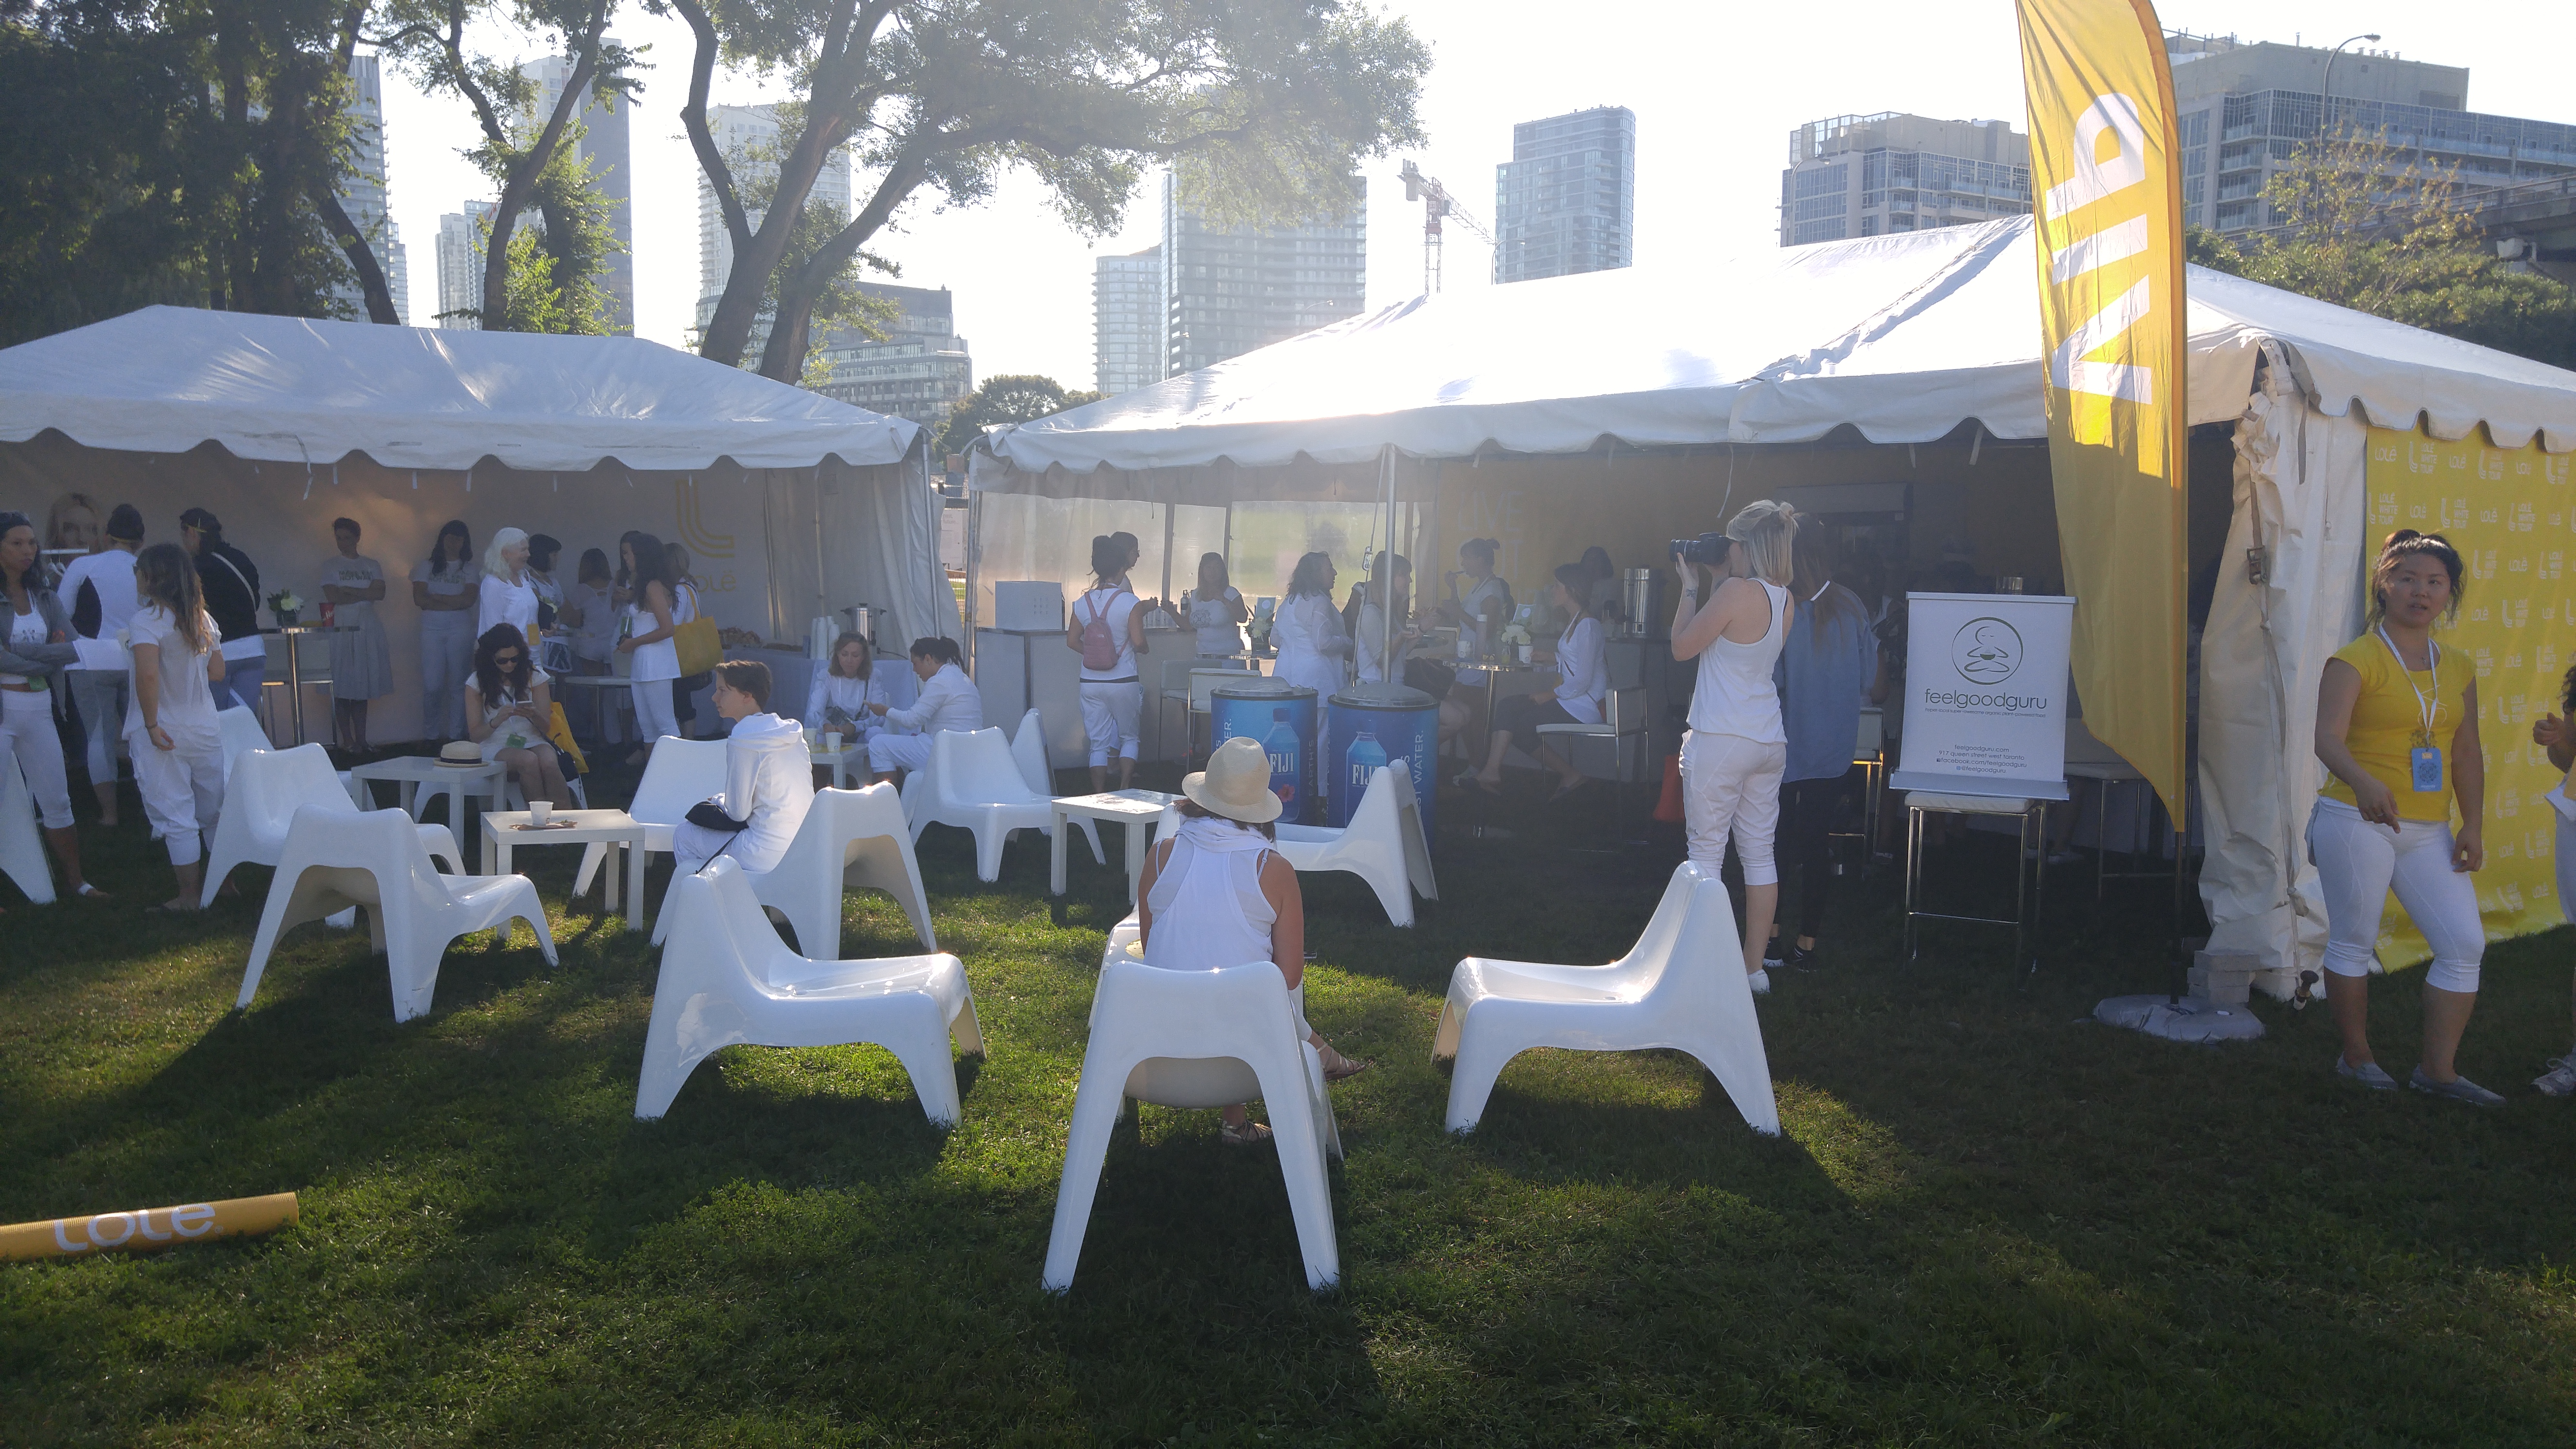
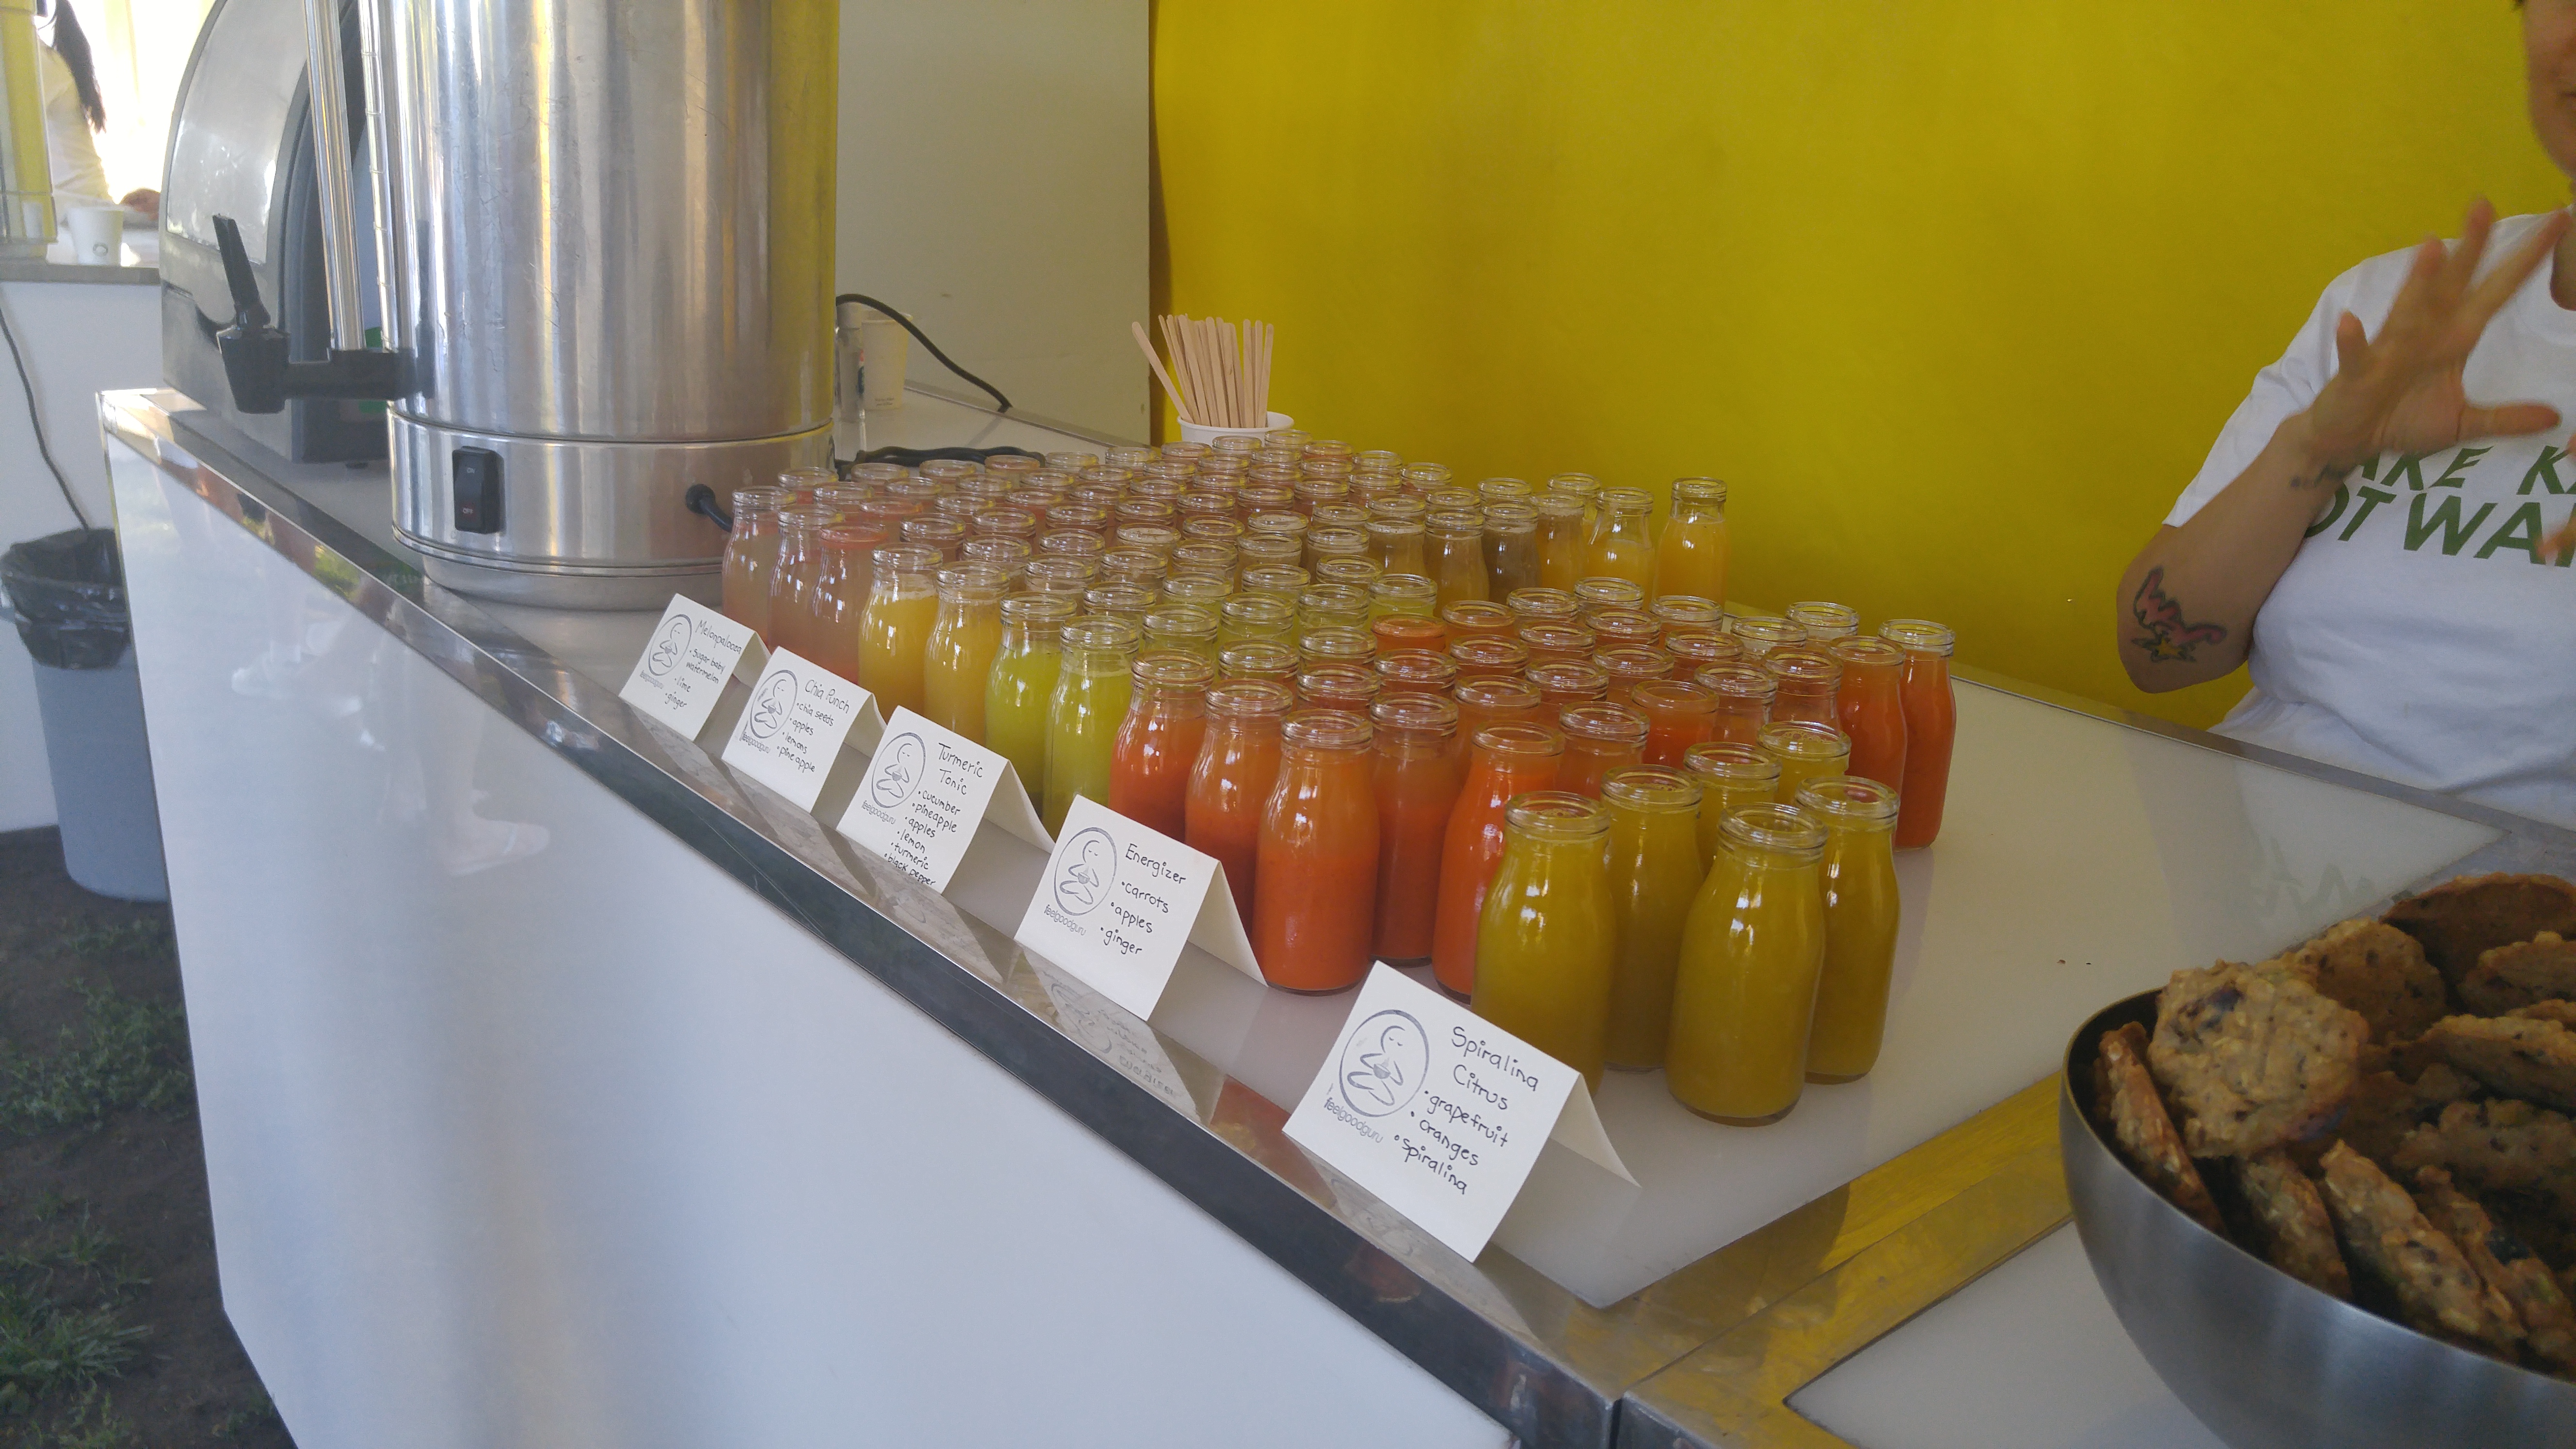
I arrived bit early to check out the show case of Lole's new line, network and take in the entire experience. The Feel Good Guru provided healthy snacks and pressed juices. All were very yummy. Ive tried her juice cleanse before and absolutely loved it (for those of you interested in a juice cleanse).
Oikos also provided greek yogurt and were a sponsor of the event. In our gift bag full of wonderful goodies they had a knife, spoon and fork set and a picnic napkin for us. After our practice they gave us all a vegan lunch to eat on our mat while local talented musicians played for us. Fiji provided the water. It was relaxing and peaceful.
Lole not only gave us a gift bag full of amazing products, gift cards and picnic accessories but they also let us take home the mat that we used! What an awesome take home!
Thanks again for inviting me Lole. It was an experience that I won't ever forget.
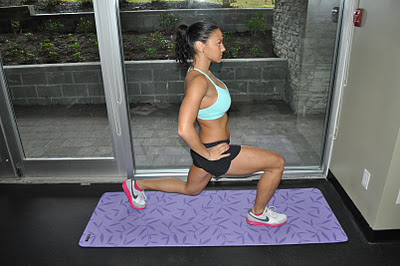
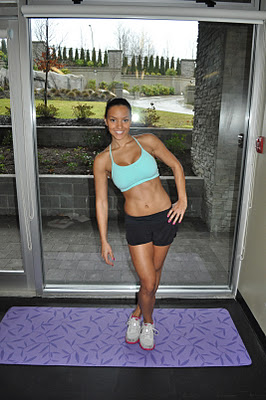
Check out my photos below of the experience! Don't you wish that you were there!
The One Part Of Training We All Have A Tendency To Leave Out
When an athlete has tight hamstrings the quadriceps will work harder because they are working against the hamstrings to compensate. This causes both the quadriceps and hamstrings to fatigue and sets the stage for a poor performance or makes the runner prone to injury.Tight hamstrings are a huge contributor to lower back pain, knee pain and leg length differences. If the hamstrings are tight and don’t fire properly, neither do the gluteus maximus and this causes the erector spinae to contract first, followed by the glutes and then the hamstrings and this puts massive stresses on the lumbar spine causing back pain. This also can happen to you!
The following are some great stretches for your hips and legs. Hold each stretch for a minimum of 30s and repeat each stretch for both the right and left leg 3 times. Make stretching a priority and part of your daily routine.
So many people have knee problems. You can use these exercises as pre-hab or re-hab. That means you can use them to prevent injuries in addition with your current training program or to rehabilitate an already existing problem. Always make sure to consult your physician before you begin an exercise program.
1. Quad clenches over roll downwards
Lay flat on your back or sitting up. leg and knee straight on top of a rolled up towel. Tighten the muscle on the front of the thigh by pushing your knee down into the towel. You should feel your thigh muscles clench. Hold for 10s and every day add on 5 more seconds.
Repeat 3×15
2) Quad clenches over roll upwards
Lay flat on your back or sitting up with your leg horizontal on a flat surface such as a bed. Place a rolled up towel under the knee. pull your toes towards you and clench you thigh muscles. Slowly lift your foot up off the bed until your knee is straight (keep your knee resting on the towel). hold for 10s and slowly lower. Every day add on 5 more seconds.
Repeat 3×15
3) Straight leg raise
Lay flat on your back. leg and knee to be worked straight, other leg bent. Pull your toes towards you and tighten/clench the muscle on the front of the thigh, locking your knee straight. lift your foot up about 6 inches off the bed. Hold for 10s and slowly lower. Every day add on 5 more seconds.
Repeat 3×15
4) Single leg get ups
Sit in a chair with your feet on the floor. start with the right leg. Sit up with all weight on single leg and slowly sit back down. Do the same movement 15x each leg. Try not to use the other leg at all and come to a complete standing position at the top.
Repeat 3×15 each leg
5) Glute bridge
Lay on your back with both knees bent about 90° and your feet on the floor/bed. clench your buttocks and lift your bottom off the bed as high as you can without arching your back. create a nice straight line from your shoulders to your hips to your knees. Hold for 5 seconds at the top and slowly lower.
Repeat 3×8 each leg (advance 3×15 each leg)
6) Clam shell
Lay on your side with your hip and knees bent approx 90°, feet together.keeping your feet together, lift the top knee up as high as you can. Hold for 5 seconds and slowly lower. Focus on squeezing the glue to get your leg up.
Repeat 3×15 each side
7) Heel raises
Stand with your feet slightly apart, weight equally distributed, holding onto something solid for balance like a kitchen work surface or wall. Rise up onto your toes lifting your heels as high as possible. Keep your body upright (don’t bend forwards). Hold for 5 secs and slowly lower
Repeat 3×15-30
8) Straight-leg raises
Lay down on your back. bend your left leg and place your foot flat on the floor. extend your right leg away from your body. Keeping your right leg straight, slowly raise it up to a 45 degree angle. Slowly lower it back down to the starting position. As you do this exercise, focus on contracting the quadriceps muscle. Slow and controlled!
Repeat 3×15 each leg
9) Wall squats
Stand straight with your back against a wall and feet shoulder-width apart. Walk your feet away from the wall about 6 inches. while keeping your back in contact with the wall, bend your knees and slowly lower your buttocks toward the ground. Keep going until your knees are bent at about a 45-degree angle. Raise your body back up until your knees are straight. Keep your back straight and do not allow your knees to go in front of your toes.
Repeat 3 x as long as you can hold! Challenge yourself.
Make sure to stretch as well. The most important stretches for you are:
1) Illiotibial band stretch
Position yourself by crossing your right leg in front of your left. keep your hands together loosely and start moving to the floor on your right side, your knee locked. You should sense pressure in the anterior part of your left thigh. Keep the stretch for at least 30 seconds minimum. Repeat 2-3x each leg.
2) Hamstring stretch
Stand in an upright position, keep your left knee bent at a 90-degree angle. Hold your thighs with your hands, try to keep them steady. straighten out your left leg out into the air until you feel the stretch. Hold for 30 seconds minimum. Repeat with the right leg.
3) Standing calf stretch
Stand a little less than arm’s distance from the wall. Step your right leg forward and your left leg back, keeping your feet parallel. bend your right knee and press through your left heel. Hold for 30 seconds minimum and switch legs.
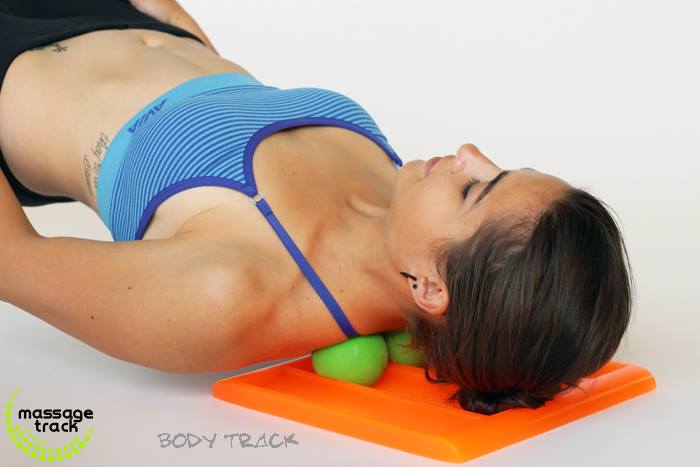
I recently came across an awesome new product that is a kickstarted project. It was invented by a man named Eric and it is a massage track with balls. I think it's pretty cool and I could definitely use it for my clients and my athletes.
Massage Track offers patent pending tools for doing deep tissue massage, either guided by a therapist or for self-care after instruction. The Body Track and Neck Track are both designed to position massage balls bilaterally, for example targeting the paraspinals. The tools accommodate ordinary tennis balls, lacrosse balls or baseballs but can also be purchased with a specially designed massage ball set of varying hardnesses.
How is it used?
The massage track tools are designed to function using gravity for comfort and power. The user rolls the tissue structure on top of the massage balls applying body weight, similar to the way you would use a foam roller. It’s very helpful to have a physical therapist guide the user initially to explain pressures, hold times and trigger point release.
What are the features?
Both the Body Track and Neck Track are soft polyurethane and pliable to avoid injury and designed to offer variable positioning. The Body Track has four tracks with two different spacings so that massage balls can be positioned very close to each other, a finger width apart or with one or two empty tracks in between them.
The variable spacing makes the body track especially useful for working the back, gluteus and hips, but can be used for much more. The Neck Track has close tracks on the top and a wider position on the bottom (to allow for targeting of the side of the neck or the jaw). The Neck Track’s height allows the user to comfortably release the suboccipital muscles but also can be used to target the psoas, gluteus and upper hamstring area.
What makes these tools unique?
ability to customize the pressure easily by changing massage balls
great versatility created by a variety of ball spacing options
dual angles of pressure created by the track wall support
great simplicity
Do you think that this is a product that you would use? Let me know in the comments below.
Titika, one of my favorite workout clothing stores is having a free outdoor yoga class at their Don Mills location from 7-8pm. If you are in the Toronto area and have the time go check the store out they are having some great sales and get a free Yoga class too!
North York, 5 Karl Fraser Road,
Toronto ON M3C 0E7
1090 Donmills Road,
Shop at Donmills Unit M6A
Phone: 416-510-8898
Hours: Mon - Wed 10am-8pm
Thurs-Fri 10am-9pm
Sat 9:30am-9pm
Sun 11am-6pm
The MLB trains it right! Check out the Yoga Pose by these professional baseball players.
I literally have hundreds of unanswered emails on facebook and my inbox. I am so sorry to all. I am only one person and it is hard to answer everything right away. I remember reading one not too long ago from someone asking for a good yoga video. Well here is one from youtube and one of my fav yoga instructors Tara Styles. Best of all its free! Enjoy!
TRAIN IT RIGHT NEWSLETTER
Sign Up and get a free 7 day Train it Right HIIT Program!